
You’re about ten hours in. Combat’s clicking, your team feels solid, and then you hit the wall. Your gear isn’t keeping up. You realize farming materials manually would take weeks of grinding.
That’s the moment most players understand factories aren’t optional. They’re literally your progression engine.
Here’s the thing: almost everyone ignores them at first. Then panics at endgame when they see what it actually takes to upgrade weapons. Spend 30 minutes setting up factories now, and you dodge months of tedious grinding later. I’m not exaggerating.
If you’re still new to the game, the complete 2026 guide covers the fundamentals first—check that out, then come back here.
Why Factories Actually Change Everything
You can’t hit your operators’ ceiling without them. That five-star weapon you’re eyeing? Needs processed materials you can’t farm fast enough by hand. Better armor? Same story.
But here’s what makes factories genuinely interesting: they work while you’re doing literally anything else. Set production running, log off for eight hours, come back to piles of materials. Early factories generate 500k ore overnight easy. Endgame ones? Millions of refined materials just sitting there.
This is why experienced players blow past content you’re stuck on. They started factories week one and let compound advantage do the heavy lifting. It’s invisible but real.
Setting Up Your First Factory (Dead Simple)
The whole thing overwhelms you initially. Too many machine types, unclear priorities, limited space. But your first factory doesn’t need to be complex.
Just three machines:
Mining camp feeds ore to a furnace, furnace sends ingots to a workshop. Done. Put them in a line. Ore flows in one side, components come out the other. Straight lines work best early because they’re clean and stupidly easy to expand later.
Position your mining camp close to actual ore deposits. It sounds obvious but new players scatter machines randomly then wonder why nothing’s flowing. Proximity matters. Ore accumulates faster when your camp sits right next to the resource node.
Throw a zipline from your base to the mining camp. Two birds with one stone—it carries your resources and carries you. By week two you’re literally not touching mining at all. Materials just arrive.
Power’s tight early on. Don’t optimize yet. Seriously, just get ore moving. That’s the entire goal right now.
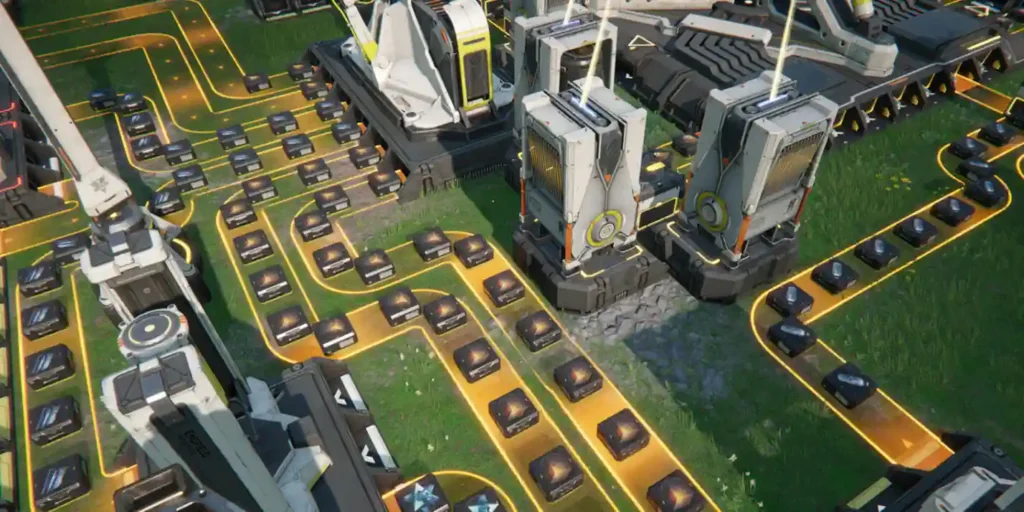
How Conveyors Actually Work (Gravity Is Your Friend)
Conveyors aren’t decorative. They’re your factory’s circulatory system. And there’s one thing that determines whether everything flows smoothly or grinds to a halt: gravity.
When you place conveyors, they slope automatically. Materials slide downward naturally. Fight that slope? You create bottlenecks instantly. Production tanks to half capacity for no reason.
Think of it like water. Materials start high, cascade through your machines, pile up at the bottom. That natural flow requires almost no extra power. You’re working with the system, not against it.
Short conveyor runs move materials faster than long ones. If machines are scattered far apart, use multiple shorter segments with splitters instead of one massive belt stretching across everything. Counterintuitive? Yeah. Works better? Absolutely.
One thing nobody mentions: conveyor saturation. A single conveyor has a maximum throughput. You’ve got two miners dumping ore into one furnace through a single belt? That conveyor becomes your bottleneck. Either add parallel conveyors or build another furnace. Don’t force all your materials through one narrow channel.
Power: The Constraint That Actually Matters
Factories eat electricity constantly. And early on, your power generation is embarrassingly limited.

Most new players build machines first, then panic when nothing runs because they’re completely out of power. Wrong order. Calculate what you actually need before placing anything.
Coal generators are solid (consistent). Wind works early but unreliable. Either way, figure out total power draw before committing.
Here’s what I’ve learned: build more power generation than you think you’ll need. Build one coal generator, then build another one immediately. When you hit midgame expansion, you’ll be grateful you did.
Generators themselves need fuel too. Dedicate production early to keeping coal flowing. A factory that stops because you ran out of fuel is worse than anything.
Small optimization that compounds: don’t run everything 24/7. Use switches to control what’s active. Let mining and furnaces run continuously while you sleep. Power down workshops when you’re offline. When you log in, everything has fresh power to spike.
Over a week, this cuts wasteful consumption by 30-40%. That’s enough headroom to add another furnace without stress.
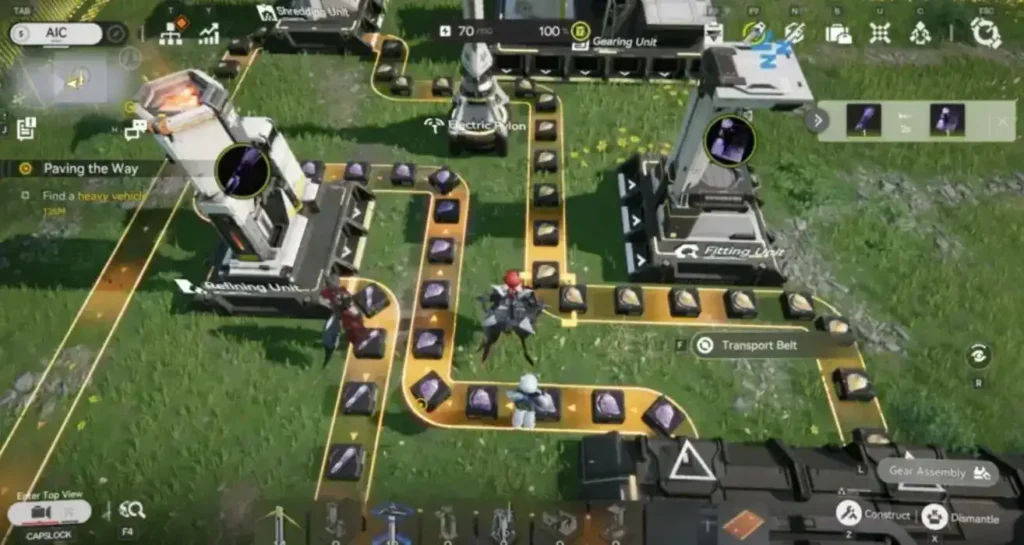
Resource Flow: Never Let Things Back Up
Watch your materials flow in real time. If ingots pile up at furnace output while your workshop sits idle, something’s wrong. Either the workshop has no power, the conveyor’s saturated, or the machine needs different material.
Use intermediate storage between stages. Don’t push everything forward immediately. Let ingots accumulate in storage while furnaces process at their own pace. Mining happens fast, furnaces are slower, storage smooths that out.

It’s like this: miners are aggressive and quick. Your furnace can’t match that speed. Storage acts as a buffer. Miners dump ore, furnace pulls at its pace. No backup, no waste.
Open production stats regularly and actually look at them. Which machines sit idle? Which run at 100%? Idle machines need more input feeding them. Machines maxed out? There’s your bottleneck. Fix that first.
Most factories feel stuck because of one weak point, not a system-wide problem. Could be insufficient mining. Could be furnace throughput. Could be conveyor saturation. Identify the actual problem, fix that, watch everything improve.
Layout Strategy: Tight Now, Flexible Later
Eventually you face a choice: pack everything densely or leave room to grow?
Compact layouts look impressive and run beautifully. Expanding them? Hell. You need to redesign half your setup to add a single furnace.
Scalable layouts leave space intentionally. Machines sit in logical zones. Adding another furnace means adding to your copper zone, not restructuring everything. Less visually tight initially, but expansion is trivial.
Smart move: start compact (limited space anyway), plan to shift toward scalable as you unlock bigger areas.
Midgame sweet spot is organized but not obsessed. Keep copper processing separate from components. Use storage to decouple them. If you need another furnace later, you add it to the copper zone without touching components at all.
Endgame almost always favors scalable design. Space isn’t limited anymore, power isn’t an issue, and the flexibility matters way more than squeezing another 5% efficiency.
How Factories Actually Drive Your Combat Progression
This connection is direct: your factory controls your ceiling.
Picture two players, identical operators, identical strategy. One has a working factory running. One doesn’t.
Two weeks later, the factory player’s gear is two full tiers ahead. Better weapons, reinforced armor. Combat feels smoother because they hit harder and tank more damage consistently.
The other player’s farming materials manually. Going nowhere.
Better weapons and armor come from processed materials. Processing requires factories. Factories take weeks to compound. Ignore them week one, you struggle week three. Simple equation.
The complete 2026 guide covers operator progression and combat strategies. What it doesn’t emphasize: factories determine how fast you actually upgrade that gear. Understanding the gacha system and resource management there helps you see why this matters so much.
Build a factory now. Keep it small. Expand gradually. By the time you need high-end gear, your factory produces it passively.
Mistakes I’ve Watched People Make
Going too complex too fast. You see someone’s endgame factory and try to build it immediately. You don’t have resources, space, or power yet. Start simple, scale after. For pacing, the beginner tips section covers this well.
Ignoring power capacity. Place five machines, run out of electricity, blame the system. Add generators before expanding. This fixes 80% of “my factory is broken.”
Skipping storage. Machines produce unevenly. Storage smooths that completely. Use it liberally between stages.
Spreading machines too far. Conveyors have range. Keep machines close. Shorter runs move faster and use less power.
Never adjusting. A factory optimized for region one chokes when you hit region two. Check it weekly, tweak as you unlock new resources.
How Factories Evolve as You Progress
Your first factory is proof of concept. Three machines, fits in one screenshot.
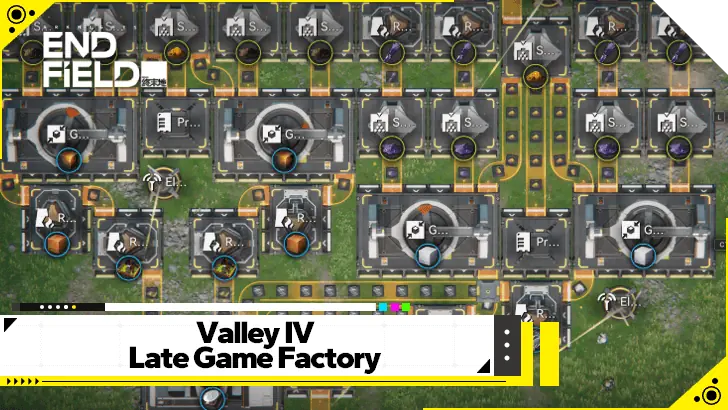
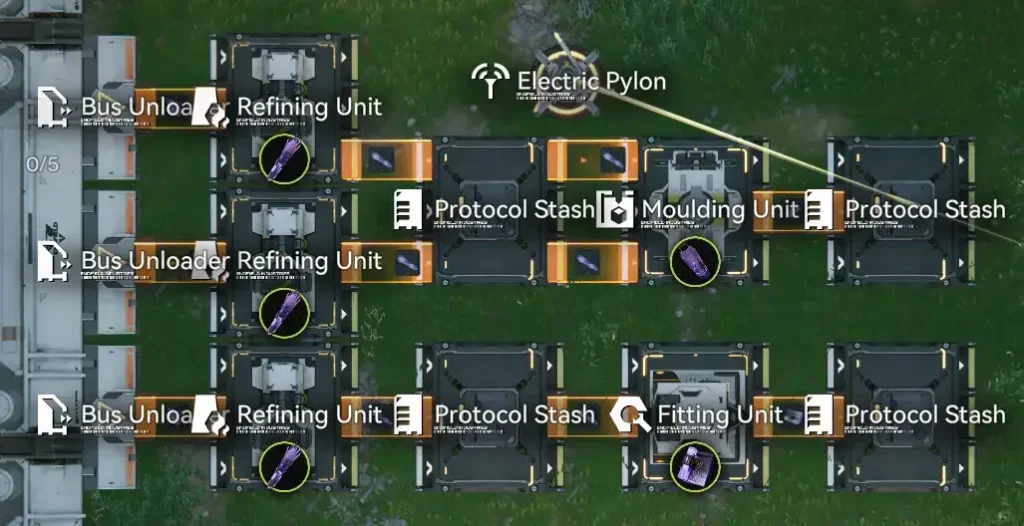
Midgame (regions 3-4) is when you see what factories can actually do. Multiple machine types, branching production chains. One furnace feeds two workshops. Four mining camps feed two furnaces. More complex but still manageable. Most players realize here that factories directly impact gear progression and start taking them seriously.
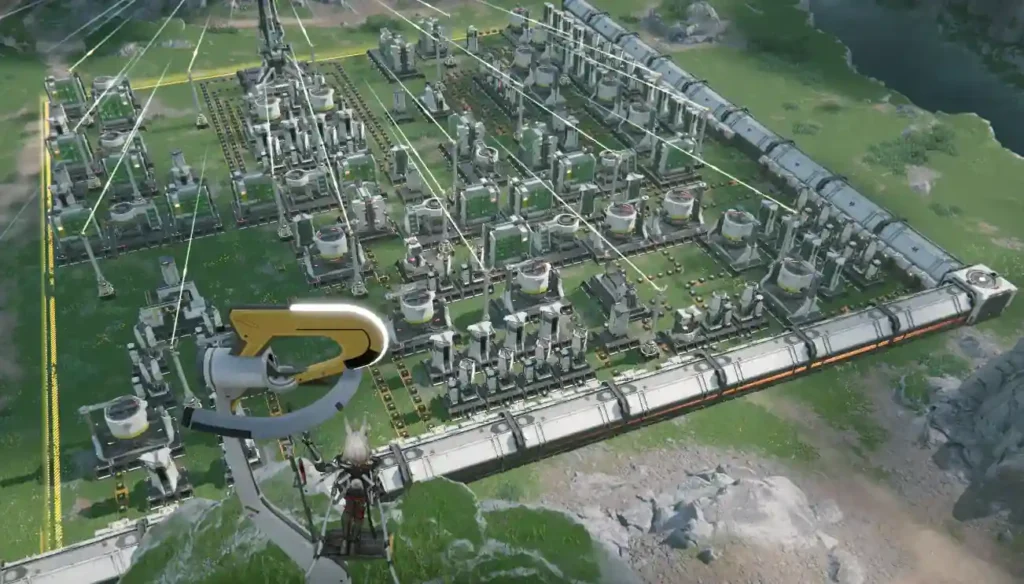
Endgame looks completely different. Dedicated zones. Copper processing area. Components area. Advanced materials area. Each runs independently but feeds central storage. Dozens of machines optimized for maximum passive income.
Endgame factories look overwhelming if you try building from scratch. But you didn’t build them overnight. Started with three machines, expanded to eight, optimized to twelve. They grew with you naturally.
Start Your Factory Today
Your factory is invisible advantage. Place three machines right now, and a month from now you’ll have materials arriving every day without touching a button. That’s how progression actually feels smooth.
Players who start now compound advantage over time. Week two, they upgrade gear while others farm manually. Week four, the gap widens. By week eight, they’re progressing twice as fast.
Don’t wait for region three. Start with mining camp, furnace, workshop. Nothing complex. Let it run while you play.
The difference between smooth progression and hitting walls isn’t luck or spending money. It’s factories accumulating advantage every single day in the background.
Most players realize this too late. Don’t be one of them. Start now, thank yourself later.
For comprehensive Arknights: Endfield system guidance, hit the main guide. But remember: factory building determines whether progression stalls or soars.