most people building their first gaming pc spend weeks agonizing over the gpu, days picking the cpu, and about twelve seconds choosing fans, then their thermals are mediocre, their case sounds like a hairdryer, and they blame the cooler, the fans were the problem the whole time, airflow is the unglamorous half of pc building, and it’s also where the easiest temperature gains live, you don’t need a bigger radiator or a fancier cpu cooler you need to stop fighting your own case. This guide covers the best fan setup gaming pc builders actually need.
this guide walks through how air actually moves inside a tower, what the three pressure regimes really do, how to match fan count to case size, when static pressure matters and when it doesn’t, where to mount an aio radiator, and the small things that quietly wreck a setup that looks perfect on paper, every number in the comparison table further down comes straight from manufacturer spec sheets, no estimates and no marketing fluff.
The three pressure regimes and why they matter
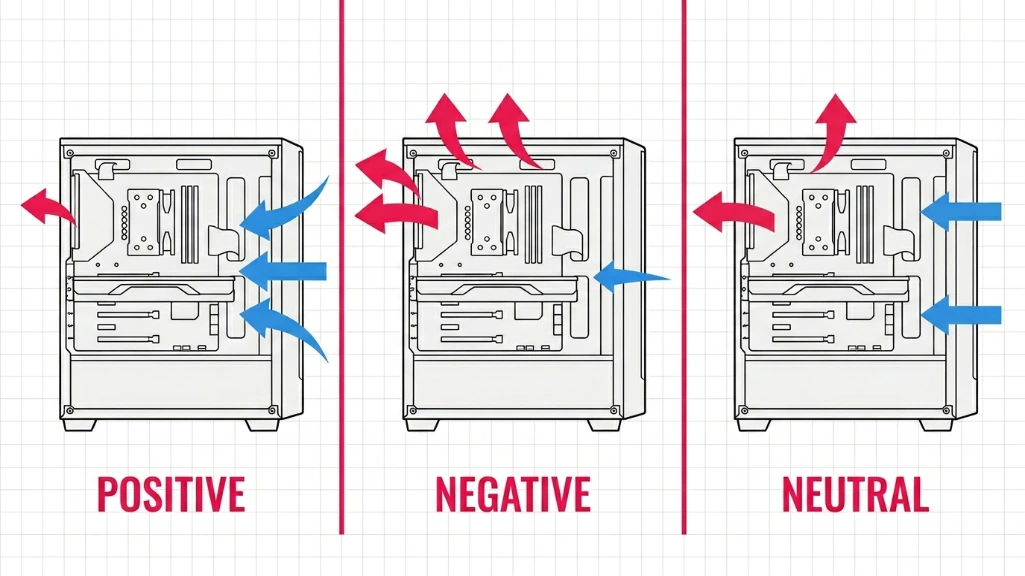
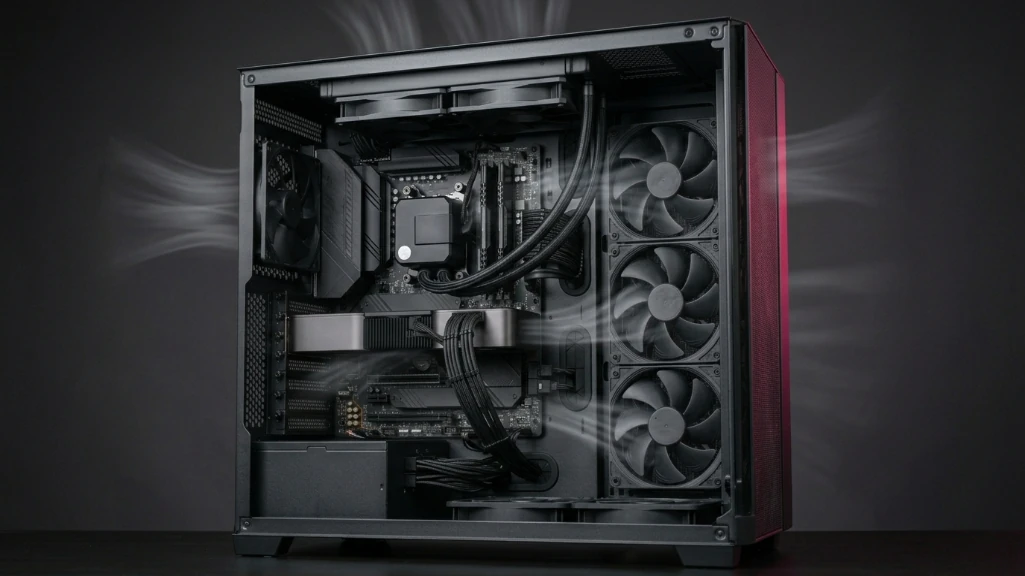
air doesn’t care about your build aesthetic, it follows the path of least resistance, and that path is decided by the difference between how much air you push in and how much you pull out. most builders default to one of three regimes without thinking about it, and the right choice actually depends on your case, your filters, and what you’re cooling.
| pressure regime | typical intake/exhaust ratio | what it does well | what it does badly | best for |
|---|---|---|---|---|
| positive | more intake than exhaust | keeps dust out by forcing air through filtered intakes only | slightly traps heat near gpu if exhaust is undersized | mesh fronts with good filters, dusty rooms, long-term builds |
| negative | more exhaust than intake | pulls heat out fast, helps gpu exhaust escape | sucks dust in through every unfiltered crack | open test benches, very heat-dense builds, short-term setups |
| neutral | roughly balanced | predictable airflow, no extreme tradeoffs | requires careful planning to actually achieve | watercooled builds where radiator placement does the real work |
Positive pressure
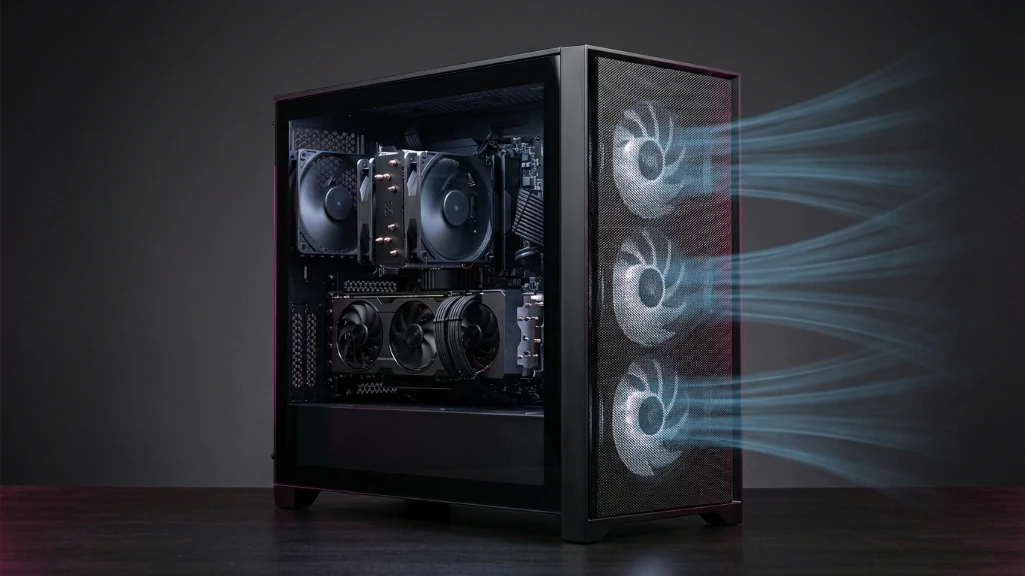
with positive pressure, intake fans move more air than exhaust fans, so the case actively pushes air out through every gap and filter, dust gets pushed away from openings instead of pulled in, this is the safe default for the vast majority of gaming rigs, if your front panel has decent dust filters and you slightly overweight intake, you’ll have lower dust accumulation and temps within a degree or two of any other setup.
Negative pressure
negative pressure flips it: exhaust outweighs intake, so the case sucks air in through every unfiltered opening it can find, it looks tempting on paper because it pulls heat out aggressively, but six months later you’ll be vacuuming the inside of your psu shroud and wondering why your gpu is throttling, only useful for open test benches or very heat-dense short-term setups.
Neutral pressure
neutral sits in the middle and rarely happens by accident, it requires careful fan count and curve tuning to actually achieve, and it’s mostly relevant for custom watercooled builds where the radiator placement is doing the real thermal work.
Matching fan count to case size
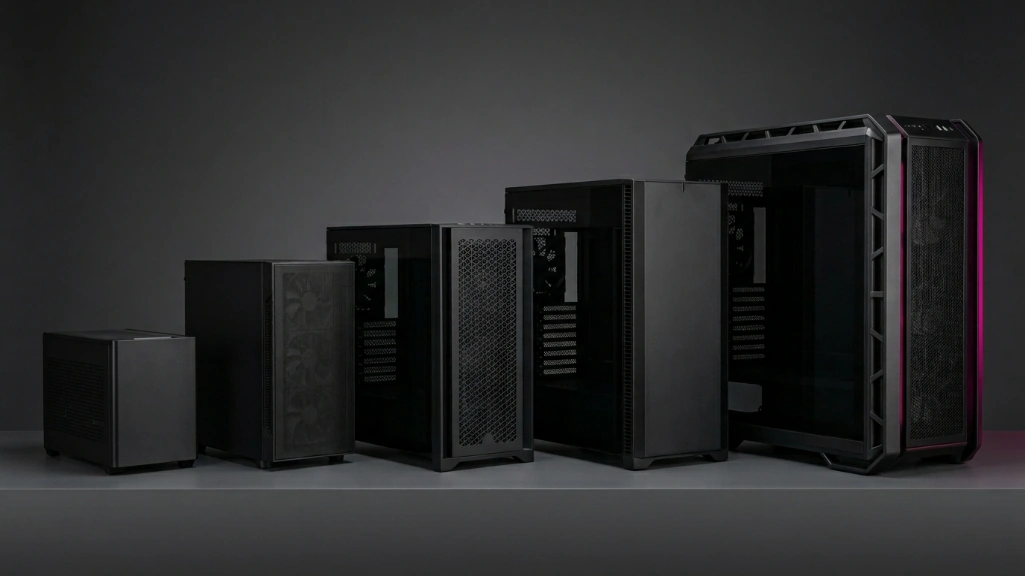
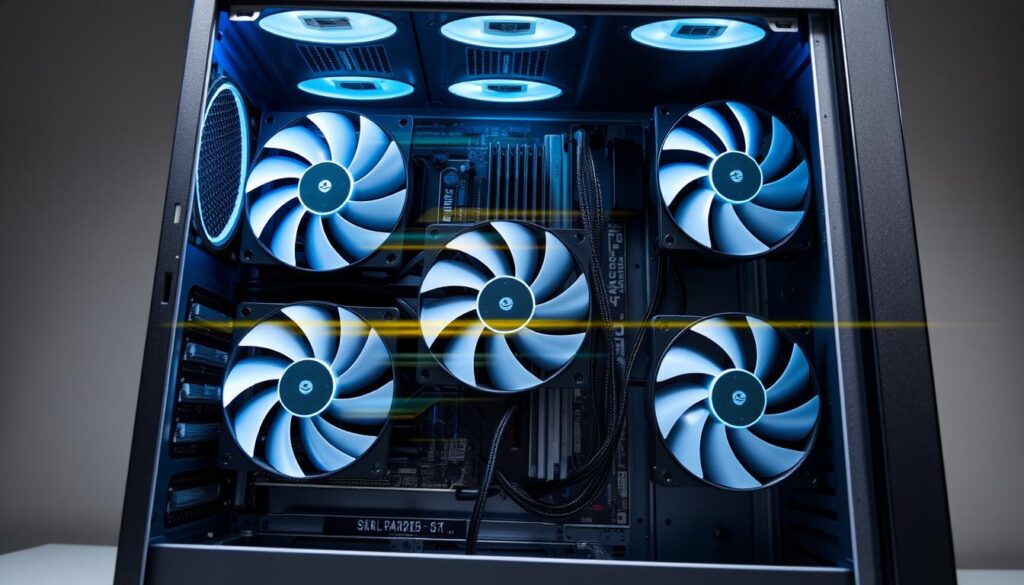
a mini-itx case and a full tower are different worlds, throwing nine fans into a small case won’t help you’ll just create turbulence and noise, throwing three fans into a super tower won’t help either you’ll have dead zones where heat just sits, the rough rule is one intake per major heat source plus one exhaust to evacuate the back, then scale up from there based on internal volume and component density.
| case size | intake fans | exhaust fans | top placement | recommended fan size |
|---|---|---|---|---|
| mini-itx (sub-20 liters) | 2 × 120mm front or bottom | 1 × 120mm rear | usually unavailable | 120mm |
| compact mid-tower | 2-3 × 120mm front | 1 × 120mm rear | 1-2 × 120mm exhaust or aio | 120mm or 140mm |
| standard mid-tower atx | 3 × 120/140mm front | 1 × 120/140mm rear | 2-3 × 120/140mm aio mount | 140mm preferred for case airflow |
| full tower | 3 × 140mm front | 1 × 140mm rear | 3 × 120/140mm | 140mm front, 120mm top for aio |
| super tower | 3-4 × 140mm front | 1-2 × 140mm rear | 3 × 140mm | 140mm everywhere except aio |
Small form factor and compact builds
mini-itx and compact mid towers are constrained by physical space, not by how many fans you can theoretically cram in, two intake fans plus one rear exhaust covers almost every itx build that isn’t watercooled, add a third intake at the bottom only if your case allows it and your gpu sits high enough to benefit, compact mid towers can fit a top exhaust or a small aio, but you’re still working in tight tolerances and noise builds up fast.
Mid tower and full tower configurations
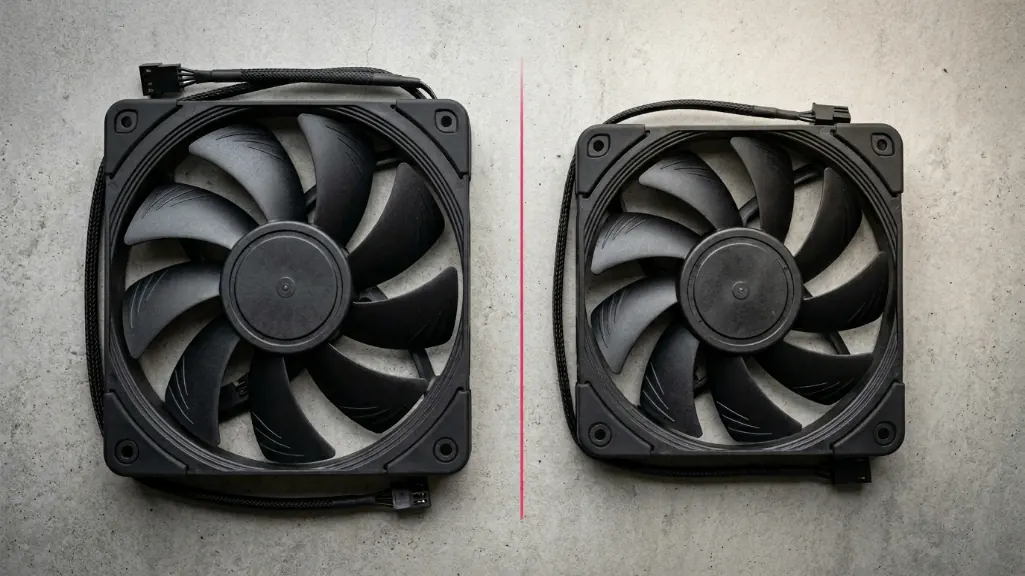
this is where 140mm fans start to matter, they move more air at lower rpm than 120mm equivalents, which means quieter operation at the same cooling target. the exception is the top of the case when you’re mounting an aio radiator: most 240/360 aios are built for 120mm fans, for actual case airflow positions, 140mm wins almost every time when the case supports them.
Static pressure vs airflow fans
most guides get lazy here and tell you static pressure fans go on radiators while airflow fans go on cases, that’s directionally true and practically useless, because the gap between a “pressure” fan and an “airflow” fan on modern premium models is much smaller than fan marketing suggests
What the spec sheet actually tells you
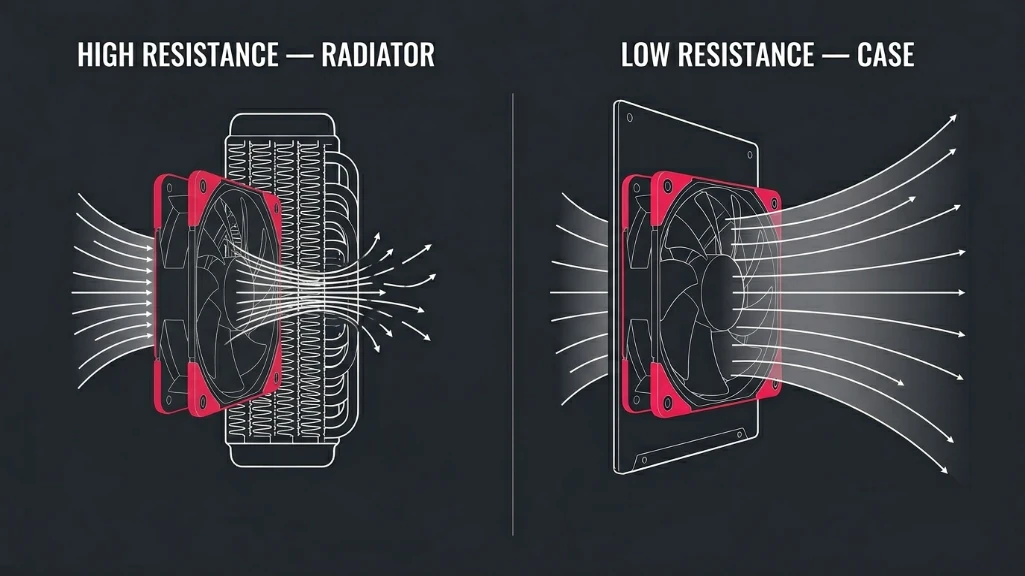
what actually matters is the full pressure to airflow curve and the noise the fan makes hitting its target performance, a fan optimized purely for free air will struggle the moment you put it against a dense radiator fin stack, because the back pressure stalls the blades, a fan optimized purely for static pressure will move less air through an open case panel than a cheaper airflow focused model, the best fans are deliberately designed to handle both jobs without compromising on either.
here are five 120mm fans that come up constantly in gaming pc builds, with every figure pulled from the manufacturer’s official spec sheet, arctic doesn’t publish a directly comparable dba rating on its product pages, so those cells are left blank rather than filled with numbers from an incompatible measurement standard.
| fan | max rpm | airflow max | static pressure max | noise max | bearing | warranty |
|---|---|---|---|---|---|---|
| noctua nf-a12x25 g2 pwm | 1800 | 63.15 cfm / 107.3 m³/h | 3.14 mm h₂o | 22.5 db(a) | sso2 | 6 years |
| noctua nf-a12x25 pwm (g1) | 2000 | 60.1 cfm / 102.1 m³/h | 2.34 mm h₂o | 22.6 db(a) | sso2 | 6 years |
| noctua nf-f12 pwm | 1500 | 54.97 cfm / 93.4 m³/h | 2.61 mm h₂o | 22.4 db(a) | sso2 | 6 years |
| arctic p12 pwm | 200-1800 | 56.3 cfm / 95.7 m³/h | 2.20 mm h₂o | n/c constructeur | fluid dynamic | 6 years |
| arctic p12 pro | 600-3000 | 77 cfm / 131 m³/h | 6.9 mm h₂o | n/c constructeur | fluid dynamic | 6 years |
The noctua nf-a12x25 g2 benchmark
the noctua nf-a12x25 g2 is the current technical benchmark in 120mm, it’s the second generation refinement of the original nf-a12x25 that came out in june 2025, and noctua’s own internal testing shows it delivers roughly 1°c better cooling on a noctua nh-u12a air cooler at 200w heat load, or alternatively about 2 to 2.5 db(a) lower noise at the same performance level, on a 120x49mm radiator at 200w, the gap widens to about 3.5°c over the original, or 1.5 to 3.5 db(a) quieter at matched performance, in case ventilation duty the gap shrinks to 1-2 db(a) at equivalent flow, because case positions don’t stress a fan the way a dense radiator does
The arctic p12 pro budget angle
the arctic p12 pro is the interesting outlier in this table, its 6.9 mm h₂o static pressure rating and 77 cfm airflow are genuinely impressive on paper, helped by a 3000 rpm ceiling that nearly doubles what the noctua fans can do, it costs a fraction of the g2 €13.99 msrp incl, vat versus the g2’s $34.90 ex vat. that doesn’t make it the obvious winner, because at 3000 rpm it’s loud, and arctic’s noise rating methodology isn’t directly comparable to noctua’s, but if you’re building on a tight budget and you’re willing to tune fan curves carefully, the p12 pro is one of the few sub-€15 fans that doesn’t make you compromise heavily on raw capability
Older noctua models still worth considering
the original nf-a12x25 g1 and the nf-f12 are still excellent choices in 2026 if you find them discounted, the f12 in particular pulls only 0.6w max less than half what most premium fans draw which adds up if you’re running seven or eight of them across a full tower
Where to mount an aio radiator
this is the question that wrecks more builds than any other, front intake or top exhaust? the answer depends on which component you care more about keeping cool, and there’s a third option you should almost always avoid
Front intake vs top exhaust
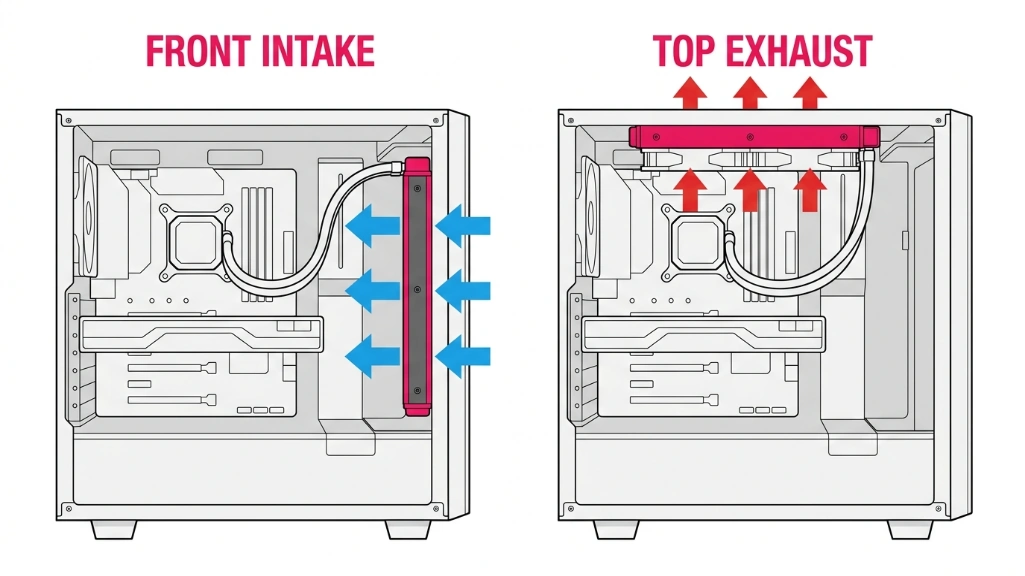
front intake with the radiator sucking cool outside air through the fins gives you the best cpu temps but slightly worse gpu temps, because the air hitting your gpu is now several degrees warmer, top exhaust with the radiator pushing case air out gives you the best gpu temps and slightly worse cpu temps, because the radiator is being fed by air that’s already been warmed by the gpu
for most gaming builds where the gpu is the hotter and more thermally constrained component top exhaust is the better default, you accept a small cpu thermal penalty in exchange for keeping your most expensive component cooler, the exception is if you’re running a high-tdp cpu like a ryzen 9 or core i9 paired with a midrange gpu, in which case front intake makes more sense
When to avoid top intake mounting
avoid mounting the radiator at the top of the case as intake unless you have a very specific reason, it works thermally, but any pump leak extremely rare but possible drips directly onto your motherboard, the small thermal upside isn’t worth the failure mode
The things that matter beyond the fans
a perfect fan layout in a bad case still loses to a mediocre layout in a good one, the fans are only one variable in the airflow equation, and the rest of the equation is where most builds quietly lose temperature
Mesh front panels
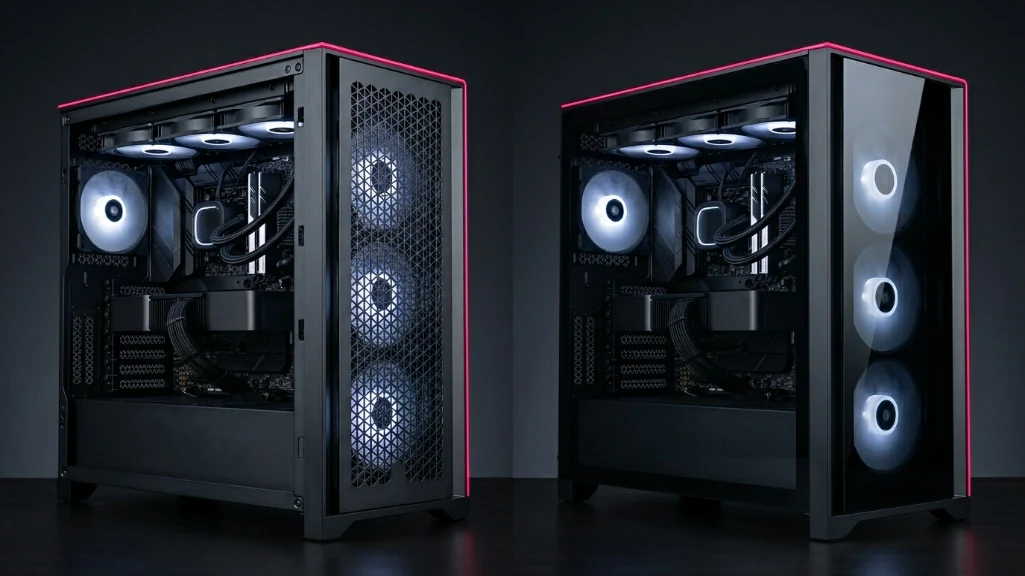
if your case has a solid front panel with restricted airflow paths, no fan in the world will fix that, mesh front panels exist for exactly this reason, and the difference between a mesh front and a glass front on the same case can be five to ten degrees on the gpu, if you’re shopping for a case, the front panel material is a more important spec than rgb count or side glass thickness
Dust filters and pressure drift
dust filters need to be cleaned regularly, because a clogged filter changes your pressure regime, a positive pressure build with filthy filters becomes a negative pressure build by accident, and suddenly your gpu is running hotter and dustier than it should, monthly visual check, quarterly clean
Cable management and airflow obstruction
cable management isn’t just for show, cables in front of intake fans create turbulence that kills airflow efficiency, and cables draped over the cpu cooler are obvious thermal blockers, spend the extra hour routing everything behind the motherboard tray
Fan curve tuning
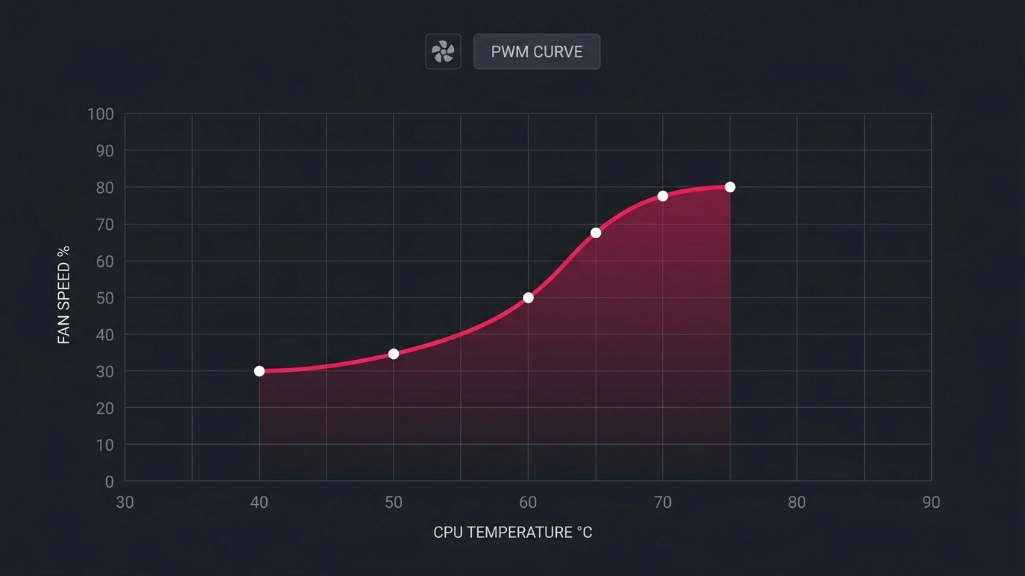
shipping with everything at 100% rpm or default motherboard curves is leaving free thermal headroom on the table, a properly tuned curve that ramps gradually from 30% at idle to 80% under sustained load gives you near silent desktop use and full cooling performance when you actually need it, this is a ten minute job in your motherboard’s bios or fan control software, and it changes how the build feels day to day
Best fan setup gaming PC: the actual answer
build positive pressure, use mesh fronts, put quality 140mm fans where the case allows them, mount your aio at the top as exhaust, clean your filters, tune your curves, and don’t cheap out on case airflow to save twenty euros while spending twelve hundred on a gpu, a well built airflow setup gives you a quieter pc, lower temps, longer component life, and the kind of thermal headroom that keeps your build relevant for years instead of throttling under summer load, the fans are the cheapest performance upgrade you’ll ever make. treat them like they matter.